Case
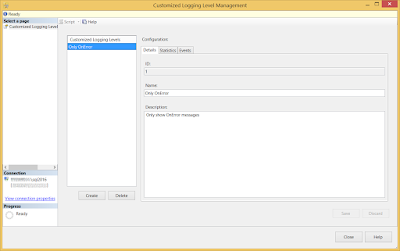
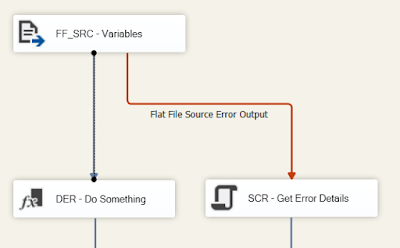
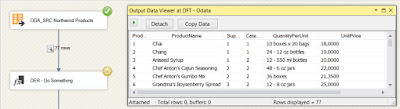
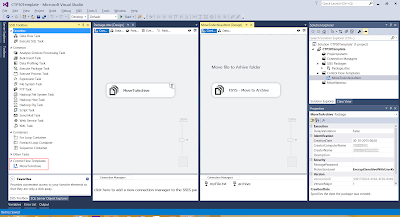
I have an Integration Services catalog with multiple projects and one generic environment. This environment contains all possible variables to support all projects.
How do I deploy my ispac files with PowerShell and automatically create a reference to this generic environment. (All parameter in my project are available as variable in the environment, but not all variables in my generic environment are available as parameter in my project.)
Solution
You can use the following PowerShell scripts as a base. Feel free to post changes in the comments below. This example uses two scripts. The first one is a simple script where you only store parameter values:
The second script is the generic deployment script which is called by the first script. Developers only change the parameters in the first script and pass it through to the server administrator who executes it.
The result
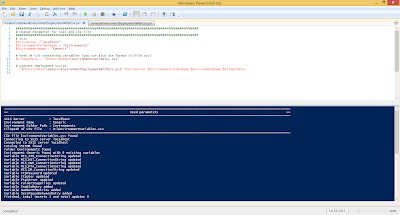
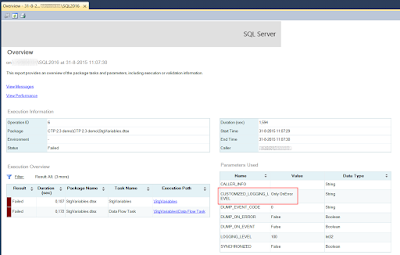
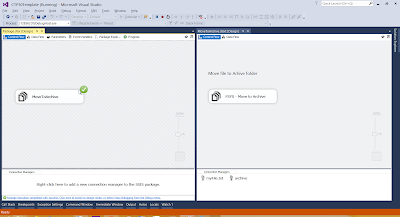
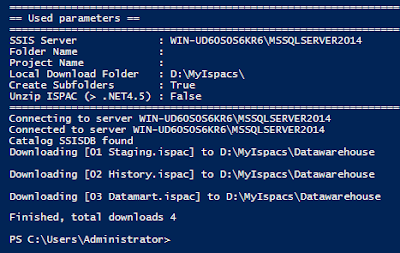
When executing the PowerShell script you get some feedback from the deployment process.
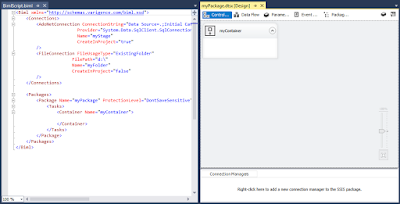
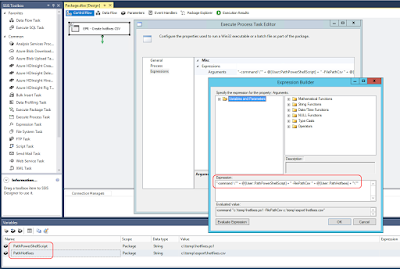
When finished the project will be deployed and all parameters are mapped to variables from the generic environment.
I have an Integration Services catalog with multiple projects and one generic environment. This environment contains all possible variables to support all projects.
 |
| Multiple project using the same generic environment |
How do I deploy my ispac files with PowerShell and automatically create a reference to this generic environment. (All parameter in my project are available as variable in the environment, but not all variables in my generic environment are available as parameter in my project.)
Solution
You can use the following PowerShell scripts as a base. Feel free to post changes in the comments below. This example uses two scripts. The first one is a simple script where you only store parameter values:
- IspacFilePath is mandatory. Is contains the full path of the ispac file.
- SsisServer is mandatory. It contains the servername (and instance name) of the Sql Server that has the Integration Services catalog.
- FolderName is mandatory. It contains the name of the catalog folder. If it doesn't exist then it will be created
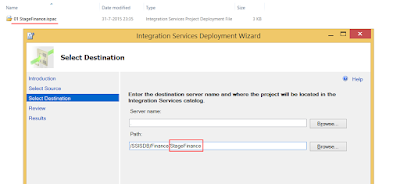
- ProjectName is optional. If it is empty the filename from the ispac file will be used as projectname. However, unfortunately it must be equal to the internal projectname of the ispac file. The ispac wizard is able to change the projectname, but that doesn't seem to be possible with PowerShell.
- EnvironmentName is optional. If it is empty then no environment will be referenced
- EnvironmentFolderName is optional. If it is empty then the script will search the environment in the project folder.
#PowerShell: finance.ps1
#################################################################################################
# Change source, destination and environment properties
#################################################################################################

# Source
$IspacFilePath = "d:\projects\Finance\bin\Development\Finance.ispac"

# Destination
$SsisServer =".\sql2016"
$FolderName = "Finance"
$ProjectName = ""

# Environment
$EnvironmentName = "Generic"
$EnvironmentFolderName = "Environments"

#################################################################################################
# Execute generic deployment script
.\generalDeployment.ps1 $IspacFilePath $SsisServer $FolderName $ProjectName $EnvironmentName $EnvironmentFolderName
The second script is the generic deployment script which is called by the first script. Developers only change the parameters in the first script and pass it through to the server administrator who executes it.
#PowerShell: generalDeployment.ps1
################################
########## PARAMETERS ##########
################################
[CmdletBinding()]
Param(
    # IsPacFilePath is required
    [Parameter(Mandatory=$True,Position=1)]
    [string]$IspacFilePath,

    # SsisServer is required
    [Parameter(Mandatory=$True,Position=2)]
    [string]$SsisServer,

    # FolderName is required
    [Parameter(Mandatory=$True,Position=3)]
    [string]$FolderName,

    # ProjectName is not required
    # If empty filename is used
    [Parameter(Mandatory=$False,Position=4)]
    [string]$ProjectName,

    # EnvironmentName is not required
    # If empty no environment is referenced
    [Parameter(Mandatory=$False,Position=5)]
    [string]$EnvironmentName,

    # EnvironmentFolderName is not required
    # If empty the FolderName param is used
    [Parameter(Mandatory=$False,Position=6)]
    [string]$EnvironmentFolderName
)

# Replace empty projectname with filename
if (-not $ProjectName)
{
  $ProjectName = [system.io.path]::GetFileNameWithoutExtension($IspacFilePath)
}
# Replace empty Environment folder with project folder
if (-not $EnvironmentFolderName)
{
  $EnvironmentFolderName = $FolderName
}

clear
Write-Host "========================================================================================================================================================"
Write-Host "==                                                         Used parameters                                                                            =="
Write-Host "========================================================================================================================================================"
Write-Host "Ispac File Path        : " $IspacFilePath
Write-Host "SSIS Server            : " $SsisServer
Write-Host "Project Folder Path    : " $FolderName
Write-Host "Project Name           : " $ProjectName
Write-Host "Environment Name       : " $EnvironmentName
Write-Host "Environment Folder Path: " $EnvironmentFolderName
Write-Host "========================================================================================================================================================"
Write-Host ""

###########################
########## ISPAC ##########
###########################
# Check if ispac file exists
if (-Not (Test-Path $IspacFilePath))
{
    Throw  [System.IO.FileNotFoundException] "Ispac file $IspacFilePath doesn't exists!"
}
else
{
    $IspacFileName = split-path $IspacFilePath -leaf
    Write-Host "Ispac file" $IspacFileName "found"
}


############################
########## SERVER ##########
############################
# Load the Integration Services Assembly
Write-Host "Connecting to server $SsisServer "
$SsisNamespace = "Microsoft.SqlServer.Management.IntegrationServices"
[System.Reflection.Assembly]::LoadWithPartialName($SsisNamespace) | Out-Null;

# Create a connection to the server
$SqlConnectionstring = "Data Source=" + $SsisServer + ";Initial Catalog=master;Integrated Security=SSPI;"
$SqlConnection = New-Object System.Data.SqlClient.SqlConnection $SqlConnectionstring

# Create the Integration Services object
$IntegrationServices = New-Object $SsisNamespace".IntegrationServices" $SqlConnection

# Check if connection succeeded
if (-not $IntegrationServices)
{
  Throw  [System.Exception] "Failed to connect to server $SsisServer "
}
else
{
   Write-Host "Connected to server" $SsisServer
}


#############################
########## CATALOG ##########
#############################
# Create object for SSISDB Catalog
$Catalog = $IntegrationServices.Catalogs["SSISDB"]

# Check if the SSISDB Catalog exists
if (-not $Catalog)
{
    # Catalog doesn't exists. The user should create it manually.
    # It is possible to create it, but that shouldn't be part of
    # deployment of packages.
    Throw  [System.Exception] "SSISDB catalog doesn't exist. Create it manually!"
}
else
{
    Write-Host "Catalog SSISDB found"
}


############################
########## FOLDER ##########
############################
# Create object to the (new) folder
$Folder = $Catalog.Folders[$FolderName]

# Check if folder already exists
if (-not $Folder)
{
    # Folder doesn't exists, so create the new folder.
    Write-Host "Creating new folder" $FolderName
    $Folder = New-Object $SsisNamespace".CatalogFolder" ($Catalog, $FolderName, $FolderName)
    $Folder.Create()
}
else
{
    Write-Host "Folder" $FolderName "found"
}


#############################
########## PROJECT ##########
#############################
# Deploying project to folder
if($Folder.Projects.Contains($ProjectName)) {
    Write-Host "Deploying" $ProjectName "to" $FolderName "(REPLACE)"
}
else
{
    Write-Host "Deploying" $ProjectName "to" $FolderName "(NEW)"
}
# Reading ispac file as binary
[byte[]] $IspacFile = [System.IO.File]::ReadAllBytes($IspacFilePath)
$Folder.DeployProject($ProjectName, $IspacFile)
$Project = $Folder.Projects[$ProjectName]
if (-not $Project)
{
    # Something went wrong with the deployment
    # Don't continue with the rest of the script
    return ""
}


#################################
########## ENVIRONMENT ##########
#################################
# Check if environment name is filled
if (-not $EnvironmentName)
{
    # Kill connection to SSIS
    $IntegrationServices = $null

    # Stop the deployment script
    Return "Ready deploying $IspacFileName without adding environment references"
}

# Create object to the (new) folder
$EnvironmentFolder = $Catalog.Folders[$EnvironmentFolderName]

# Check if environment folder exists
if (-not $EnvironmentFolder)
{
  Throw  [System.Exception] "Environment folder $EnvironmentFolderName doesn't exist"
}

# Check if environment exists
if(-not $EnvironmentFolder.Environments.Contains($EnvironmentName))
{
  Throw  [System.Exception] "Environment $EnvironmentName doesn't exist in $EnvironmentFolderName "
}
else
{
    # Create object for the environment
    $Environment = $Catalog.Folders[$EnvironmentFolderName].Environments[$EnvironmentName]

    if ($Project.References.Contains($EnvironmentName, $EnvironmentFolderName))
    {
        Write-Host "Reference to" $EnvironmentName "found"
    }
    else
    {
        Write-Host "Adding reference to" $EnvironmentName
        $Project.References.Add($EnvironmentName, $EnvironmentFolderName)
        $Project.Alter()
    }
}


########################################
########## PROJECT PARAMETERS ##########
########################################
$ParameterCount = 0
# Loop through all project parameters
foreach ($Parameter in $Project.Parameters)
{
    # Get parameter name and check if it exists in the environment
    $ParameterName = $Parameter.Name
    if ($Environment.Variables.Contains($Parameter.Name))
    {
        $ParameterCount = $ParameterCount + 1
        Write-Host "Project parameter" $ParameterName "connected to environment"
        $Project.Parameters[$Parameter.Name].Set([Microsoft.SqlServer.Management.IntegrationServices.ParameterInfo+ParameterValueType]::Referenced, $Parameter.Name)
        $Project.Alter()
    }
    else
    {
        # Variable with the name of the project parameter is not found in the environment
        # Throw an exeception or remove next line to ignore parameter
        Throw  [System.Exception]  "Project parameter $ParameterName doesn't exist in environment"
    }
}
Write-Host "Number of project parameters mapped:" $ParameterCount


########################################
########## PACKAGE PARAMETERS ##########
########################################
$ParameterCount = 0
# Loop through all packages
foreach ($Package in $Project.Packages)
{
    # Loop through all package parameters
    foreach ($Parameter in $Package.Parameters)
    {
        # Get parameter name and check if it exists in the environment
        $PackageName = $Package.Name
        $ParameterName = $Parameter.Name
        if ($Environment.Variables.Contains($Parameter.Name))
        {
            $ParameterCount = $ParameterCount + 1
            Write-Host "Package parameter" $ParameterName "from package" $PackageName "connected to environment"
            $Package.Parameters[$Parameter.Name].Set([Microsoft.SqlServer.Management.IntegrationServices.ParameterInfo+ParameterValueType]::Referenced, $Parameter.Name)
            $Package.Alter()
        }
        else
        {
        # Variable with the name of the package parameter is not found in the environment
        # Throw an exeception or remove next line to ignore parameter
        Throw  [System.Exception]  "Package parameter $ParameterName from package $PackageName doesn't exist in environment"
        }
    }
}
Write-Host "Number of package parameters mapped:" $ParameterCount


###########################
########## READY ##########
###########################
# Kill connection to SSIS
$IntegrationServices = $null


Return "Ready deploying $IspacFileName "
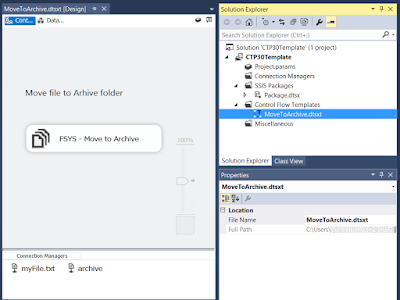
The result
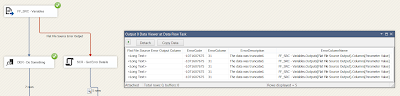
When executing the PowerShell script you get some feedback from the deployment process.
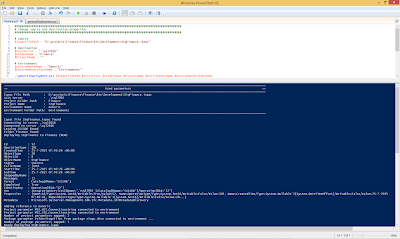 |
| Executing PowerShell Deployment Script |
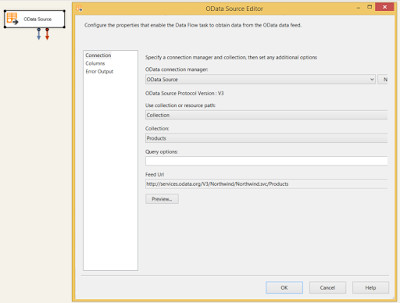
When finished the project will be deployed and all parameters are mapped to variables from the generic environment.
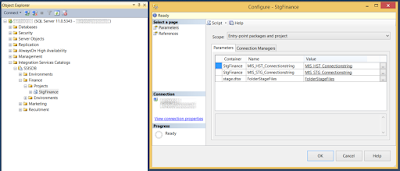 |
| Parameters mapped |